Getting Started — From Permissions to Your First Item
How to grant permissions, explore the views, and add your first item when you first open Plandy.
Plandy shows your iPhone's Reminders and Calendar data as-is. The first time you open it, you just need to allow two permissions and you're ready to go.
Allow access to Reminders and Calendar
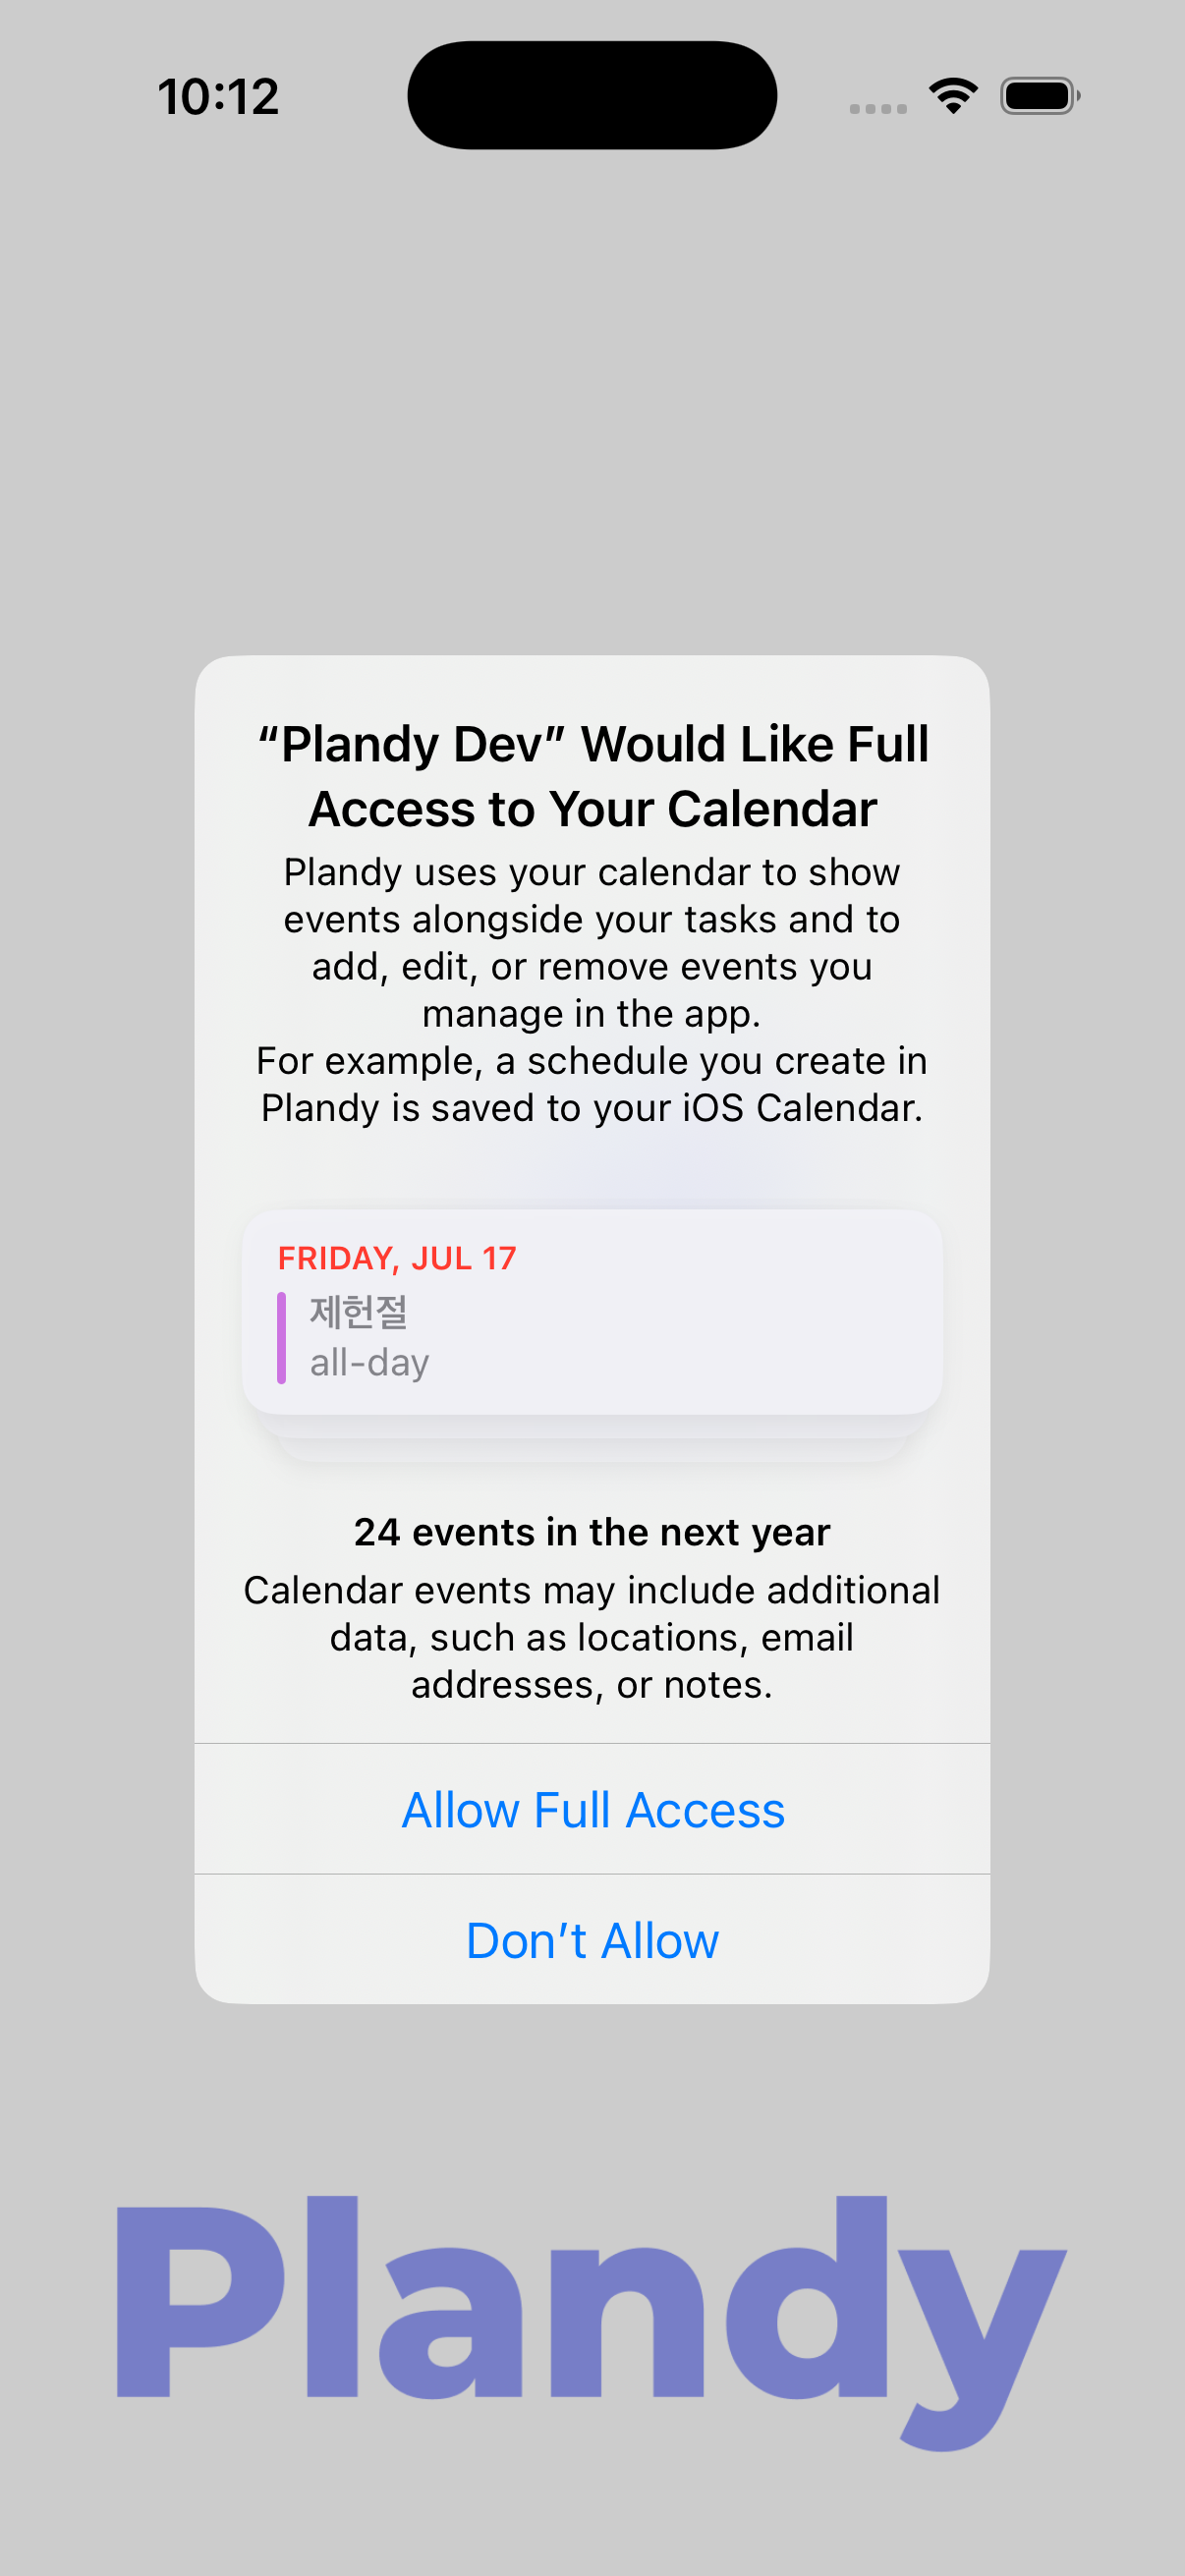
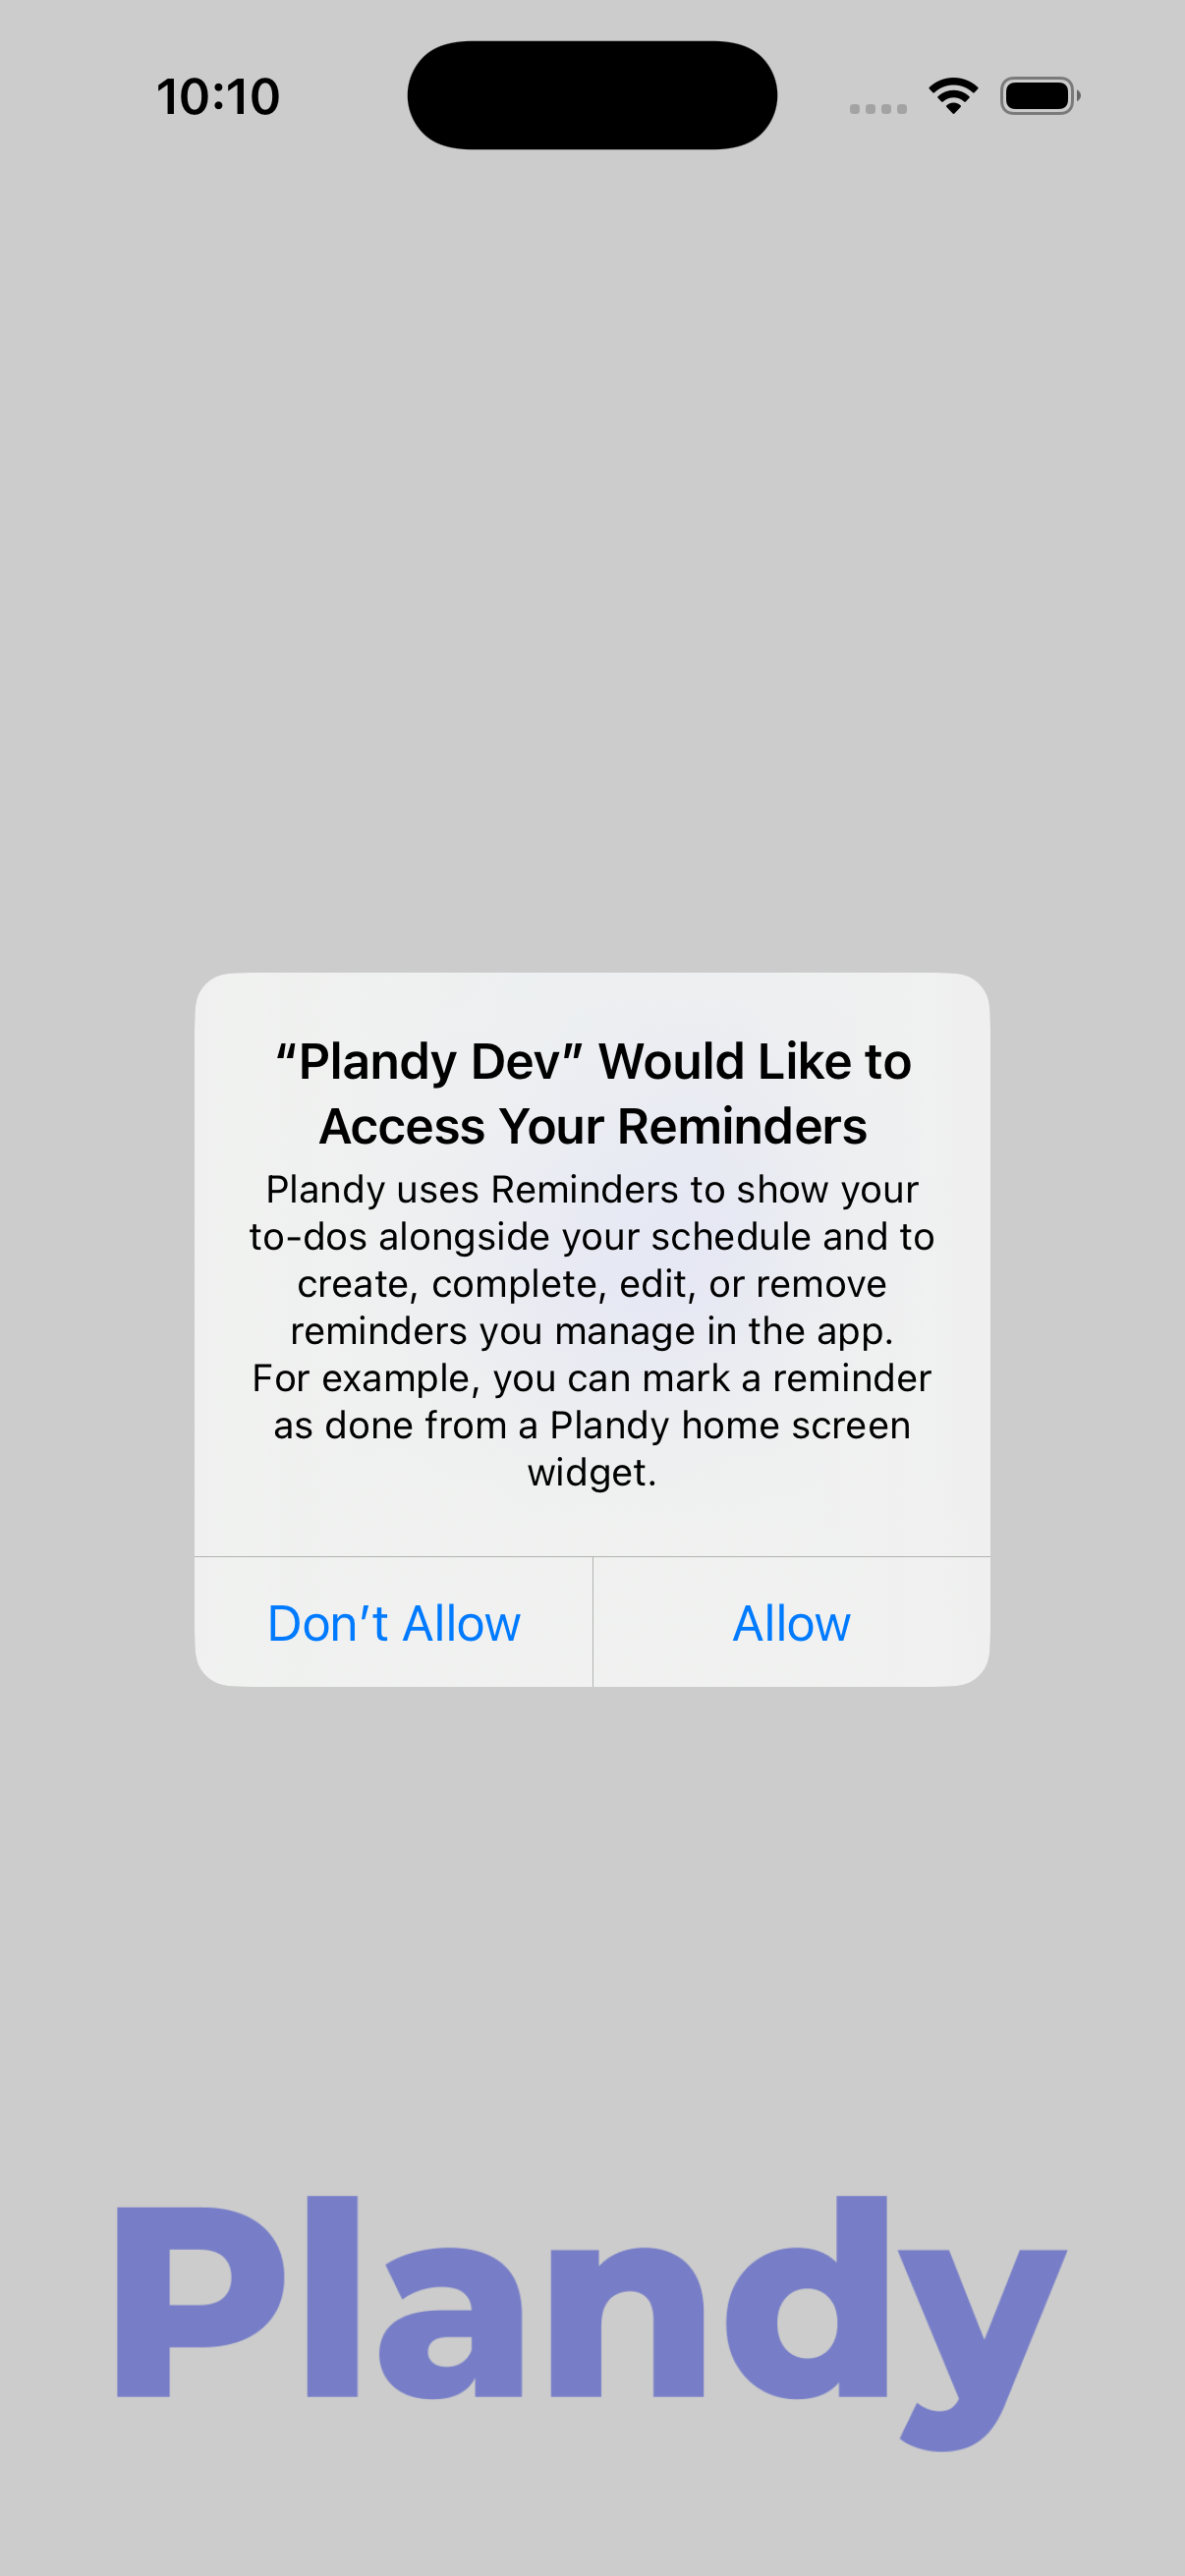
- When you first open the app, you'll be asked for access to Reminders and Calendar. Tap Allow.
- To display your items properly, Plandy needs "Full Access" to Reminders and Calendar.
- If you declined by mistake, you can re-enable access in your iPhone's Settings app > Plandy.
Grant full access to Reminders in the same way.
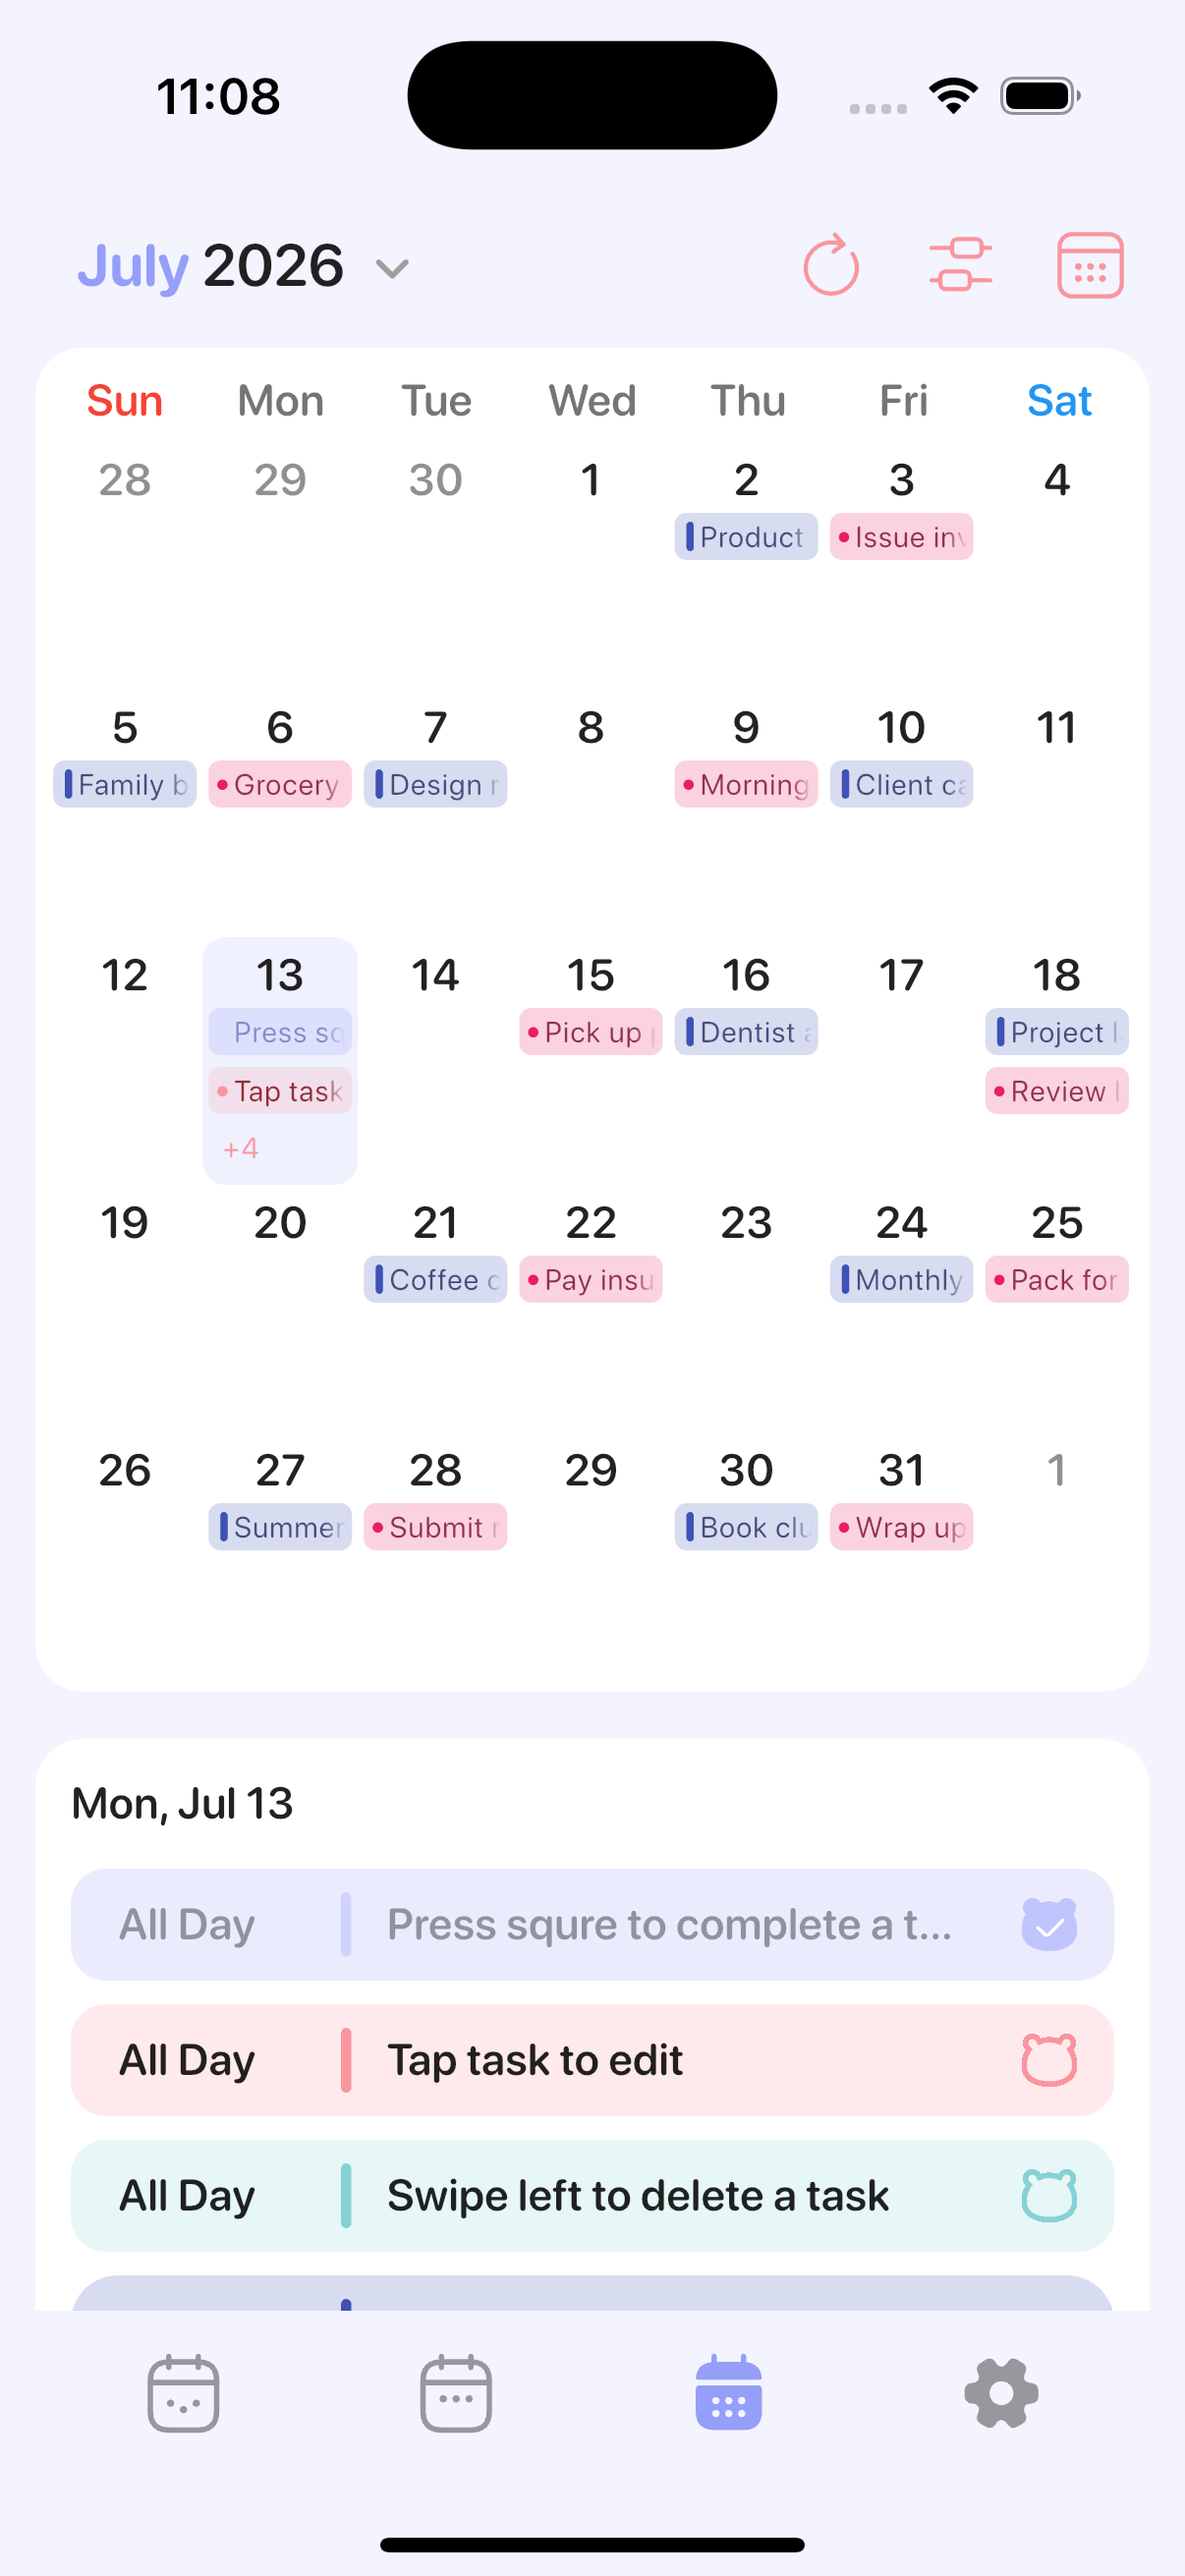
Explore the views (Day, Week, Month)
Switch between day, week, and month using the tabs at the bottom. You can hide the Week tab under Settings > Weekly tab, and set which view appears first when you open the app under Settings > Launch screen.
Add your first item
- Tap New task (+).
- Choose Reminder in the toggle, type a title, and tap the check (✓) at the top right to save your first item. Reminders are free to use.
- For a timed appointment, choose Event (a calendar event) in the toggle. Note that adding and editing calendar events is a Pro feature.
What you add appears instantly in Apple Reminders and Calendar too.
Reminders are covered in detail in the "Reminders" guide, and calendar events in the "Calendar Events" guide.
Reminders and Calendar, on one screenTry Plandy free on the App Store